
The United Nations Cybercrime unit in Africa, lead by Carmen Corbin_UN created a unique Digital Forensics CTF competition for the month of May for Africa in the digital forensics cybersecurity field and for people who are keen to see how their skills are. I for one do not work in the digital forensics field so I wanted to see how I would do in this but having worked as a systems administrator for most of my career, and now trying to make a move into offensive / forensics security, I had an idea on what things to look for, etc.
This challenge was created by DFIR.Science. This was unique in a way that you had to complete 4 weeks of challenges and also try to complete the challenges before other people did. I was excited.
- Week 1 you were given a suspect disk to analyze.
- Week 2 you were given a memory dump of the suspect disk.
- Week 3 you were given a network dump of the suspect computer.
- Week 4 you were given a dump of the android phone of the suspect.
For me, having a full time job, I couldn’t spend every minute of the day trying to do the challenges and seeing people finish challenges before you could even attempt them was disheartening, but I told myself, this is all about learning and the scoreboard should mean nothing.
I only saw the CTF on the 6 May, thanks to seeing a post by Ms_R00T, so she needs a shout!
So let me start with the writeup for week 1.
Week 1
So we were given a Forensic Disk Image which we had to download. Once downloaded, we used an application called Autopsy to load the disk image so that we could access the data on it.

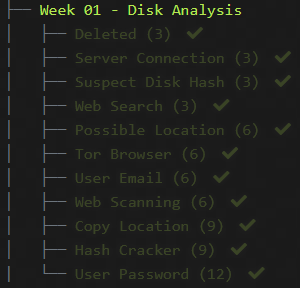
We were given 11 questions to answer ranging from 3 points to 12. This is how I solved week 1.
1) Deleted
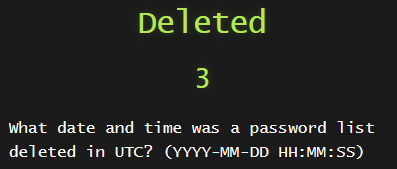
This task was pretty straight forward. When files get deleted on windows, it goes to the Recycle Bin. I went straight to the location of the Recycle Bin to check what files were deleted.
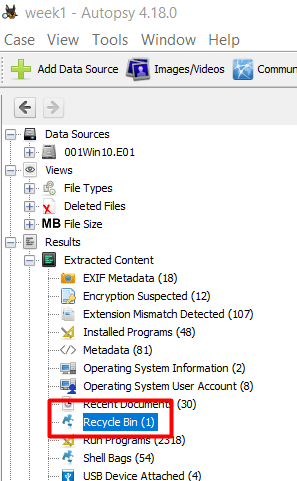
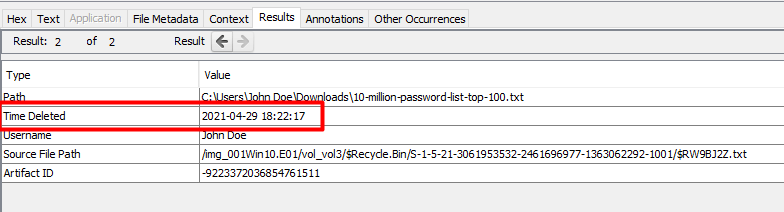
There was only one file in there so we can easily see that it’s the intended file and we can see the date and time it was deleted.
2) Server Connection
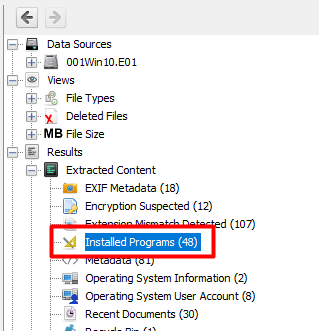
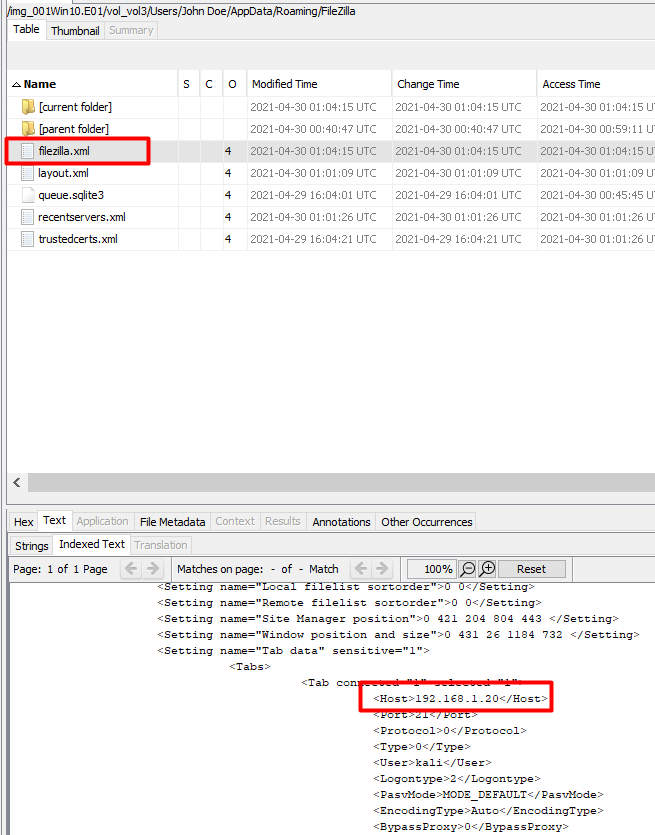
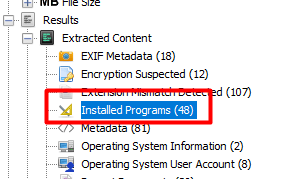
Here I went to the Installed Programs to see what FTP clients were installed and I saw that Filezilla Client was there.
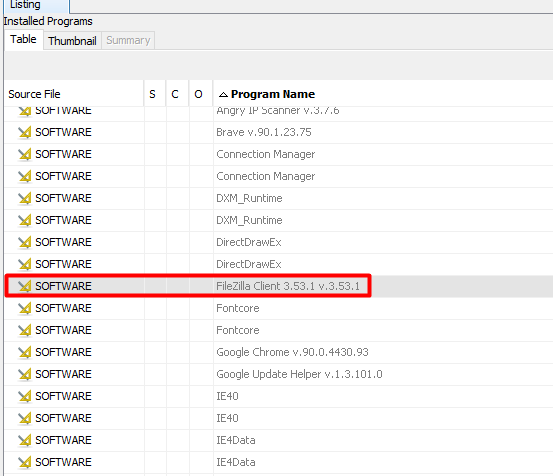
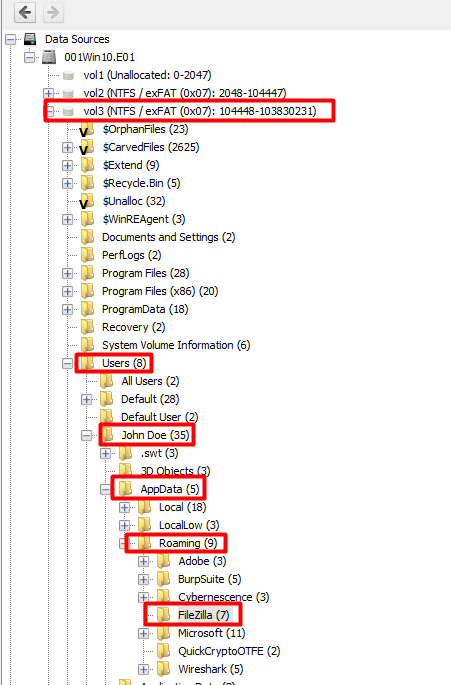
I have used Filezilla Client before so I knew exactly where to go look on the system and see potential connections in the filezilla.xml When a user saves connections for FTP, SFTP, etc in Filezilla, it will save it in that file.
 i
i
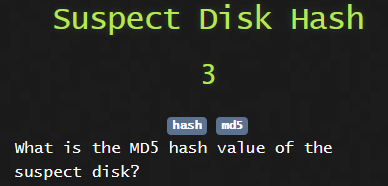
3) Suspect Disk Hash
For this one I first did it another method but 3 weeks later I cannot remember what I did. I think I used another tool on linux to check this but when I went through these challenges again to do the writeup I totally forgot.
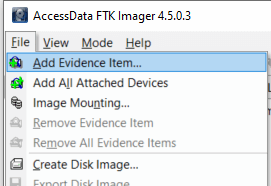
Anyways, for this you can simply download a program called FTK Imager Once installed you just import the disk image as below and you will find the MD5 hash.
Click file and then Add Evidence Item
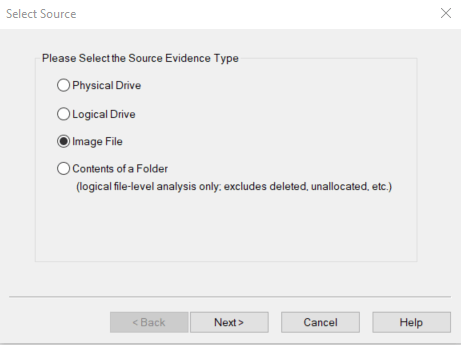
Select Image File
Then browse and select the 001Win10.E01
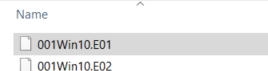
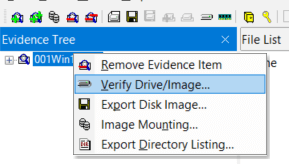
Once imported on the left, right click on the 001Win10.E01 and select Verify Drive/Image
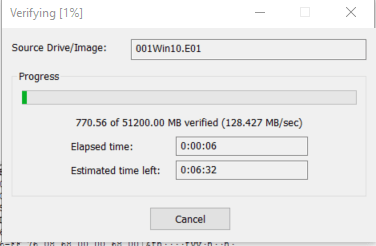
It will start to verify.
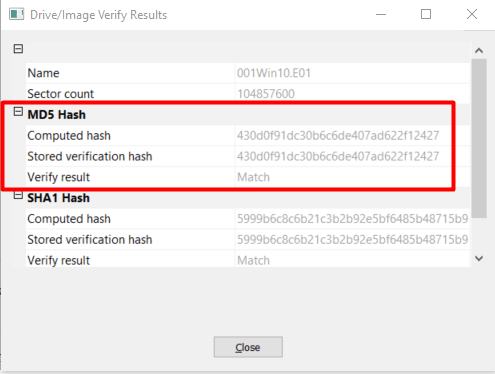
Now we can see the hash.
4) Web Search
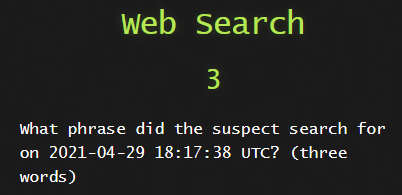
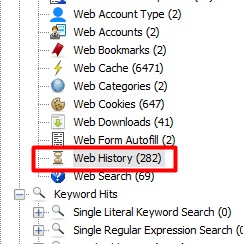
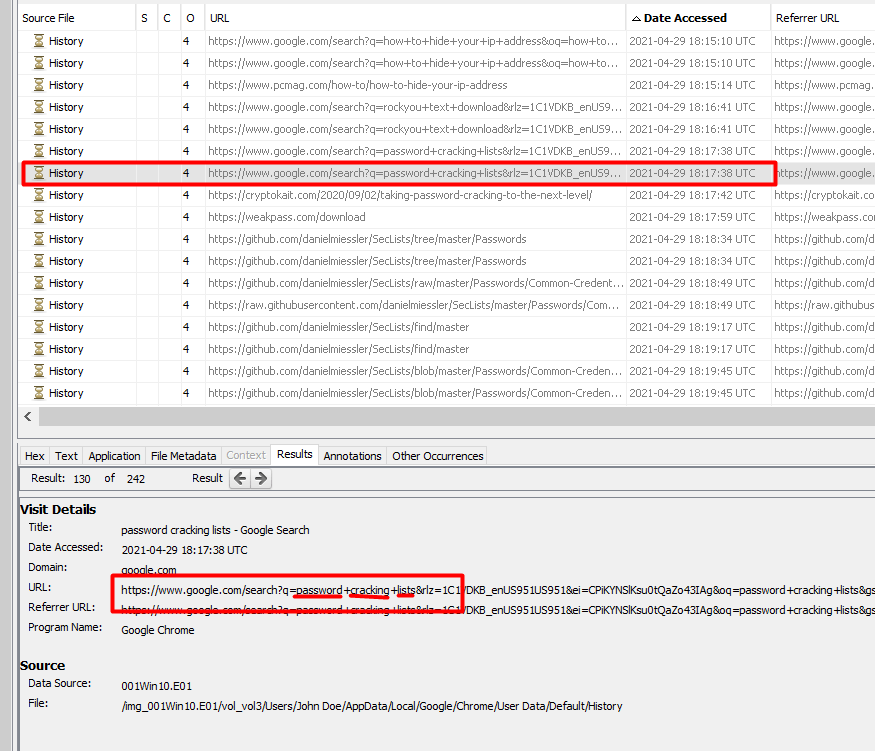
This one was fairly simple as we just go look under the Web History and go to the time in the question and you will find the search term used.
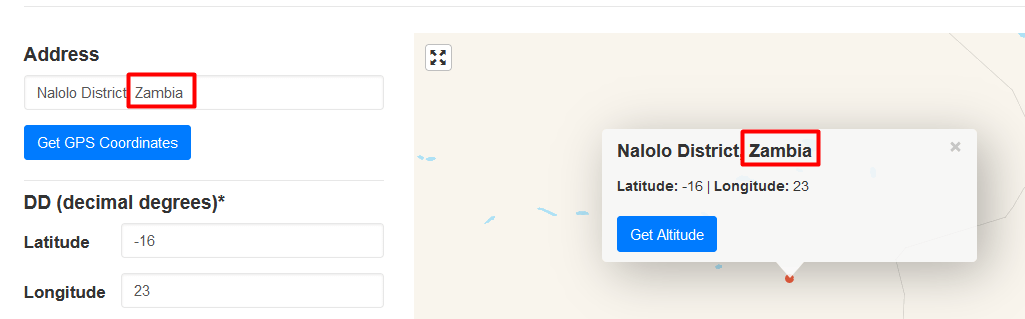
5) Possible Location

So this one for me was easy. You could just click on the Geolocation button on the toolbar at the top of Autopsy. This takes all the metadata on images on the system , looks for the GPS tags in them and pin points it on a world map. It found 2 countries but what if there are 10 or 20? So I did it the way I usually do and check the metadata on the image itself.
We first have to extract the image from the disk and then run a tool on the image. Find the image on the system and then right click on it to extract it to a location on your local system.
Then I downloaded exiftool and ran it against the image to get the metadata from it.

Towards the bottom we find the GPS location.

I went to a website called https://www.gps-coordinates.net/ and entered the GPS coordinates.
6) Tor Browser
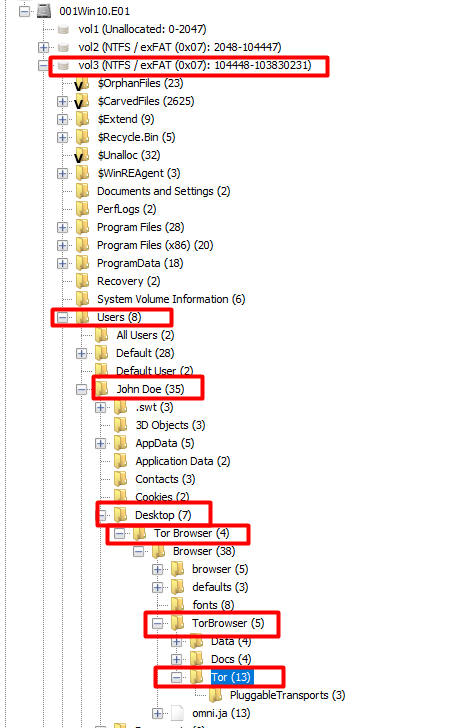
This one had me stumped for a while as I was back and forth making sure I wasn’t going crazy. I searched for the word tor and found the following
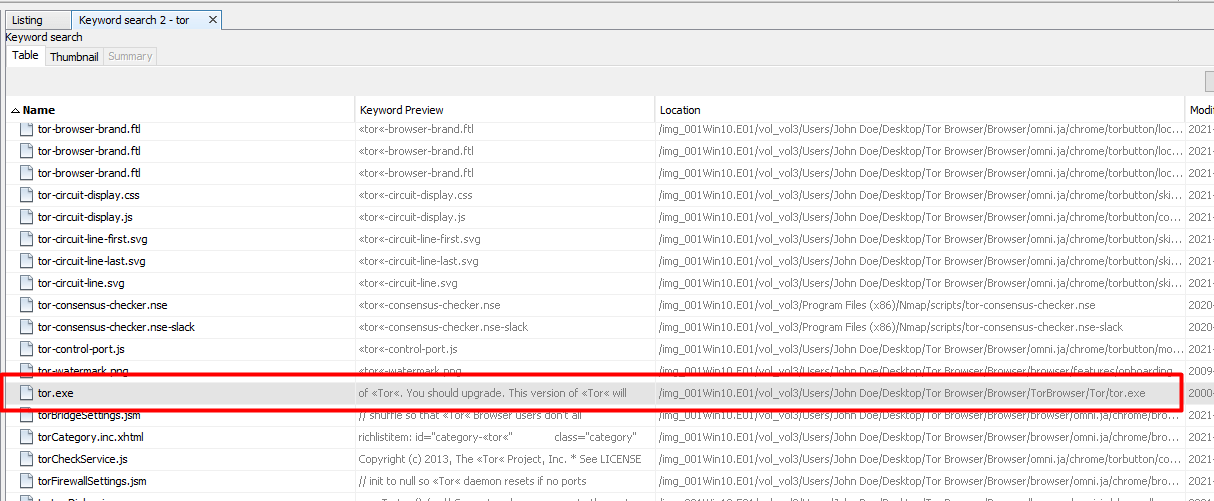
To confirm, I went to the location on the disk which was under the user’s Desktop folder.
After some researching on how to find out how many times a user has run a program, I came across windows prefetch.
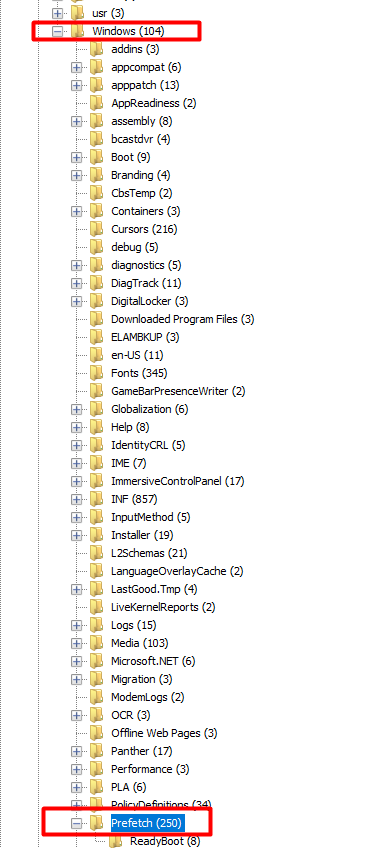
From what I understand, this prefetch folder contains information about programs you run on the system. This might indicate how many times a program is run on the system.
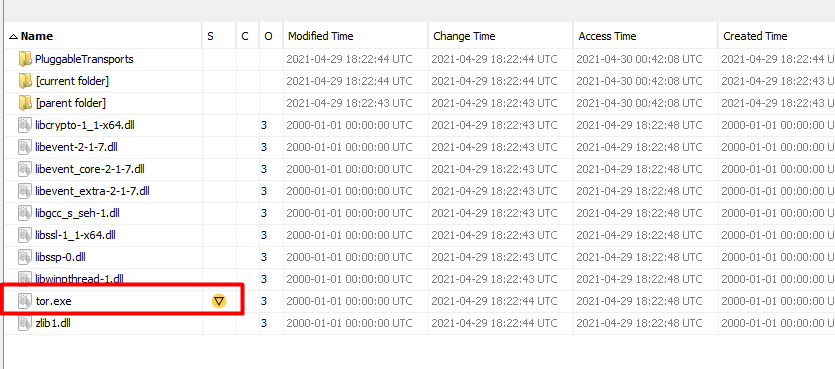
I searched for tor.exe in this folder but could not find anything.
I only found a torbrowser prefetch file.

Could it be that the user downloaded the tor browser installation and just installed it and then did not run the tor browser on the system yet?
My conclusion was correct.
7) User Email
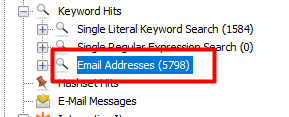
Autopsy has an email address folder but looking at it there was 5798 results. Definitly not gonna sif through that.
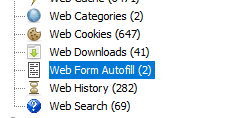
So I browsed to the Web Form Autofill to see for potential usernames/emails in web form fields and we found something.

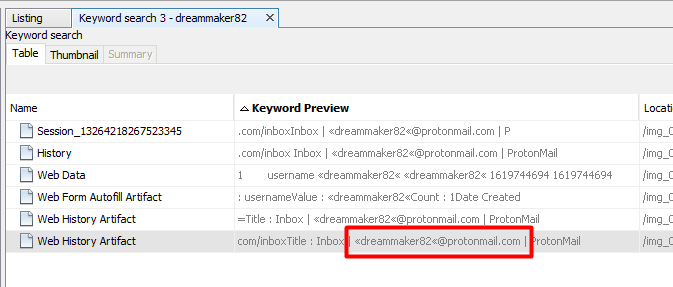
Now I just went to the keyword search on the top right and searched for the username and after going through the results we find the email address.
8) Web Scanning

Now we go back to Installed Programs and find Angry IP Scanner and Nmap


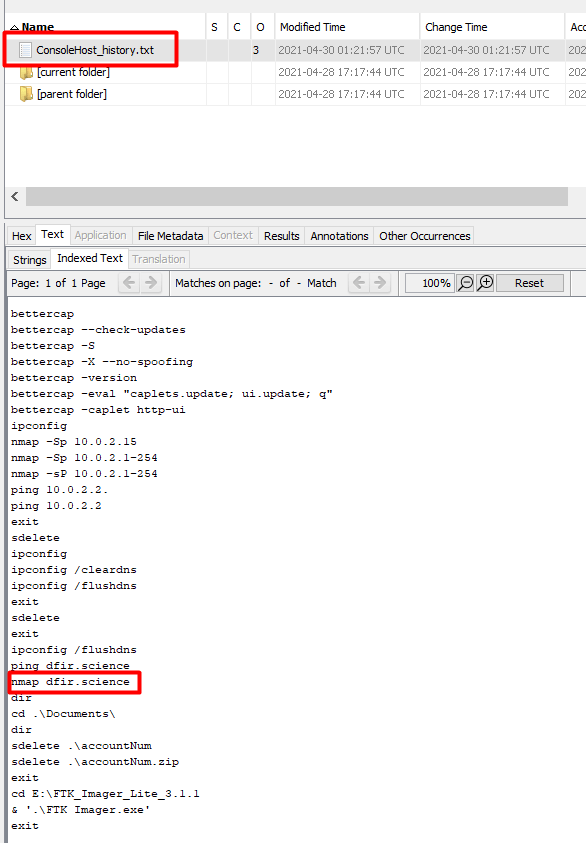
Having some basic powershell knowledge I immediatley thought to check the ConsoleHost_history.txt file for any commands run by the user.
Yep, there it is.
9) Copy Location
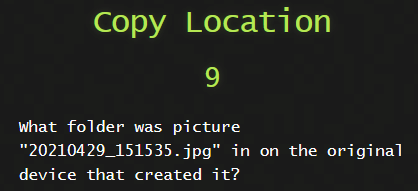
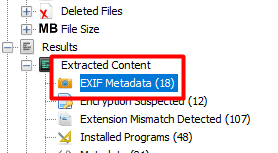
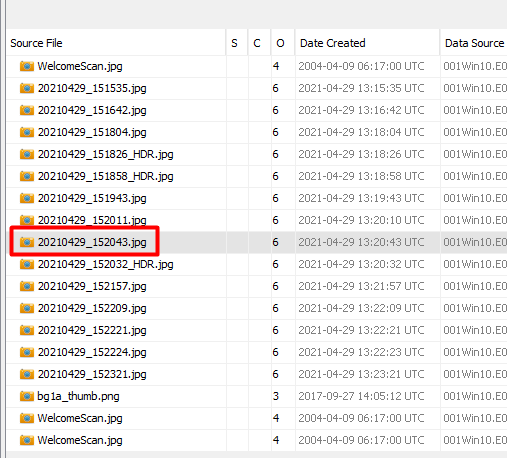
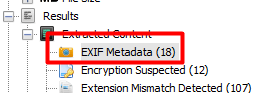
This one was a big trickyish. Getting the file on the disk was no problem but finding the original was going to take some digging. We go to EXIF Metadata and see that it was taken with a LG phone.
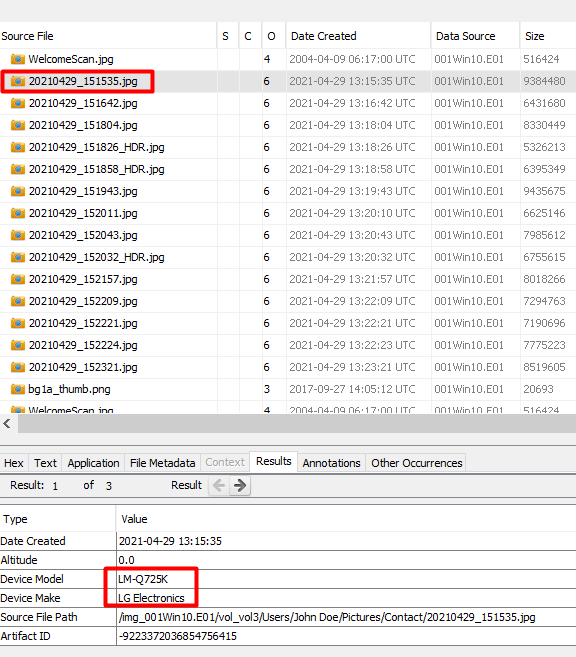
We then do a Keyword Search for 20210429_151535.jpg.
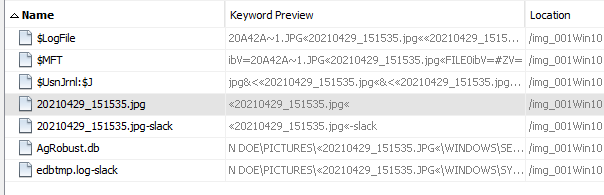
and then check the times when we scroll to the right.

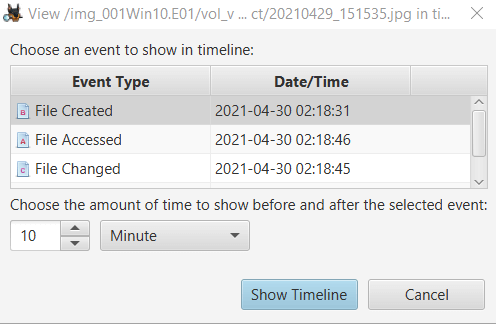
I right clicked on the file and selected View Source File in Timeline and chose File Created and set the time frame 10 minutes either way.
For some reason when I tried to do this while writing the writeup it just did not want to play nice so I had to manually enter the time frame.
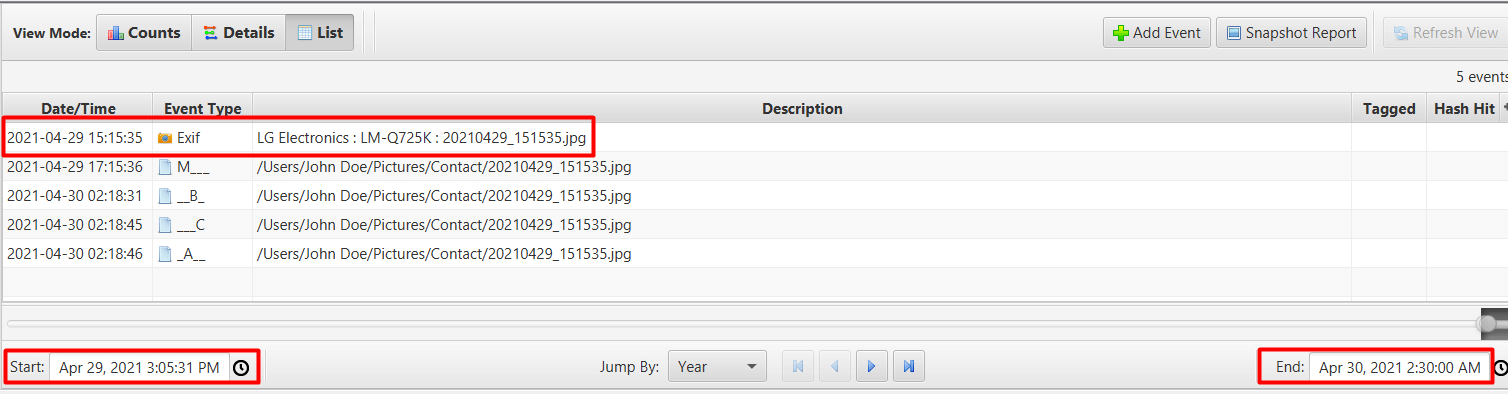
So as we can see, the original image came from the LG camera device.
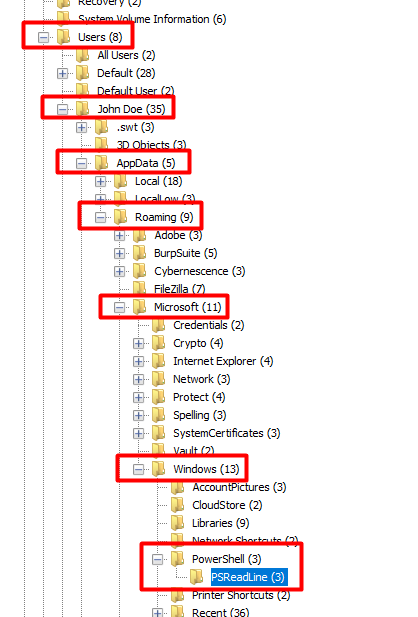
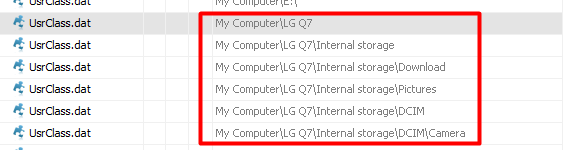
Back to the main Autopsy window we go to Shell Bags on the left.
ShellBags are a popular artifact in Windows forensics often used to identify the existence of directories on local, network, and removable storage devices.
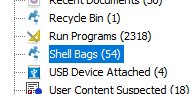
Now I cannot remember what the actual answer was but it was one of the following. If someone can let me know if you can find the proof. I think it could have been either Camera or DCIM.
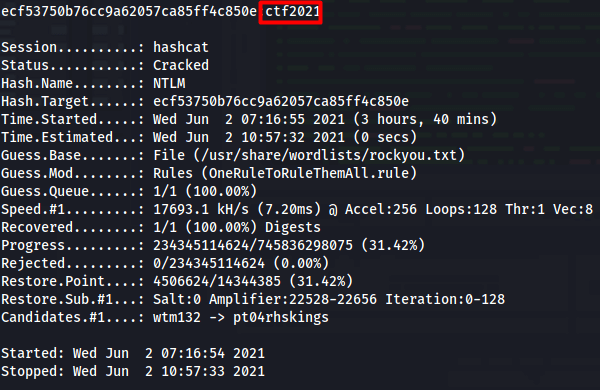
10) Hash Cracker
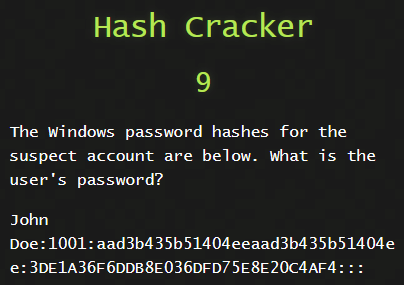
This one took a bit. We know this is a NTLM hash. For those that don’t know what a NTLM hash is let’s break it down.
It is constructed into 4 parts
- John Doe - the user name
- 1001 - RID (relative identifier or user ID)
- aad3b435b51404eeaad3b435b51404ee - LM hash
- 3DE1A36F6DDB8E036DFD75E8E20C4AF4 - NT hash
I took the following from # Intro to Windows hashes as I am too lazy to write it in my own words.
- LM - The LM hash is used for storing passwords. It is disabled in W7 and above. However, LM is enabled in memory if the password is less than 15 characters. That’s why all recommendations for admin accounts are 15+ chars. LM is old, based on MD4 and easy to crack. The reason is that Windows domains require speed, but that also makes for shit security.
- NT - The NT hash calculates the hash based on the entire password the user entered. The LM hash splits the password into two 7-character chunks, padding as necessary.
- NTLM - The NTLM hash is used for local authentication on hosts in the domain. It is a combination of the LM and NT hash as seen above.
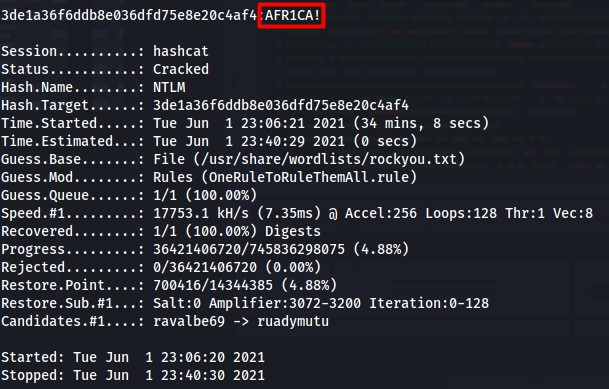
The only part we are going to use is the NT hash.
We can check https://hashcat.net/wiki/doku.php?id=example_hashes to see what mode this is

I ran this hash through rockyou.txt and found nothing.
Let us use the OneRuleToRuleThemAll and see if we get anything.

11) User Password
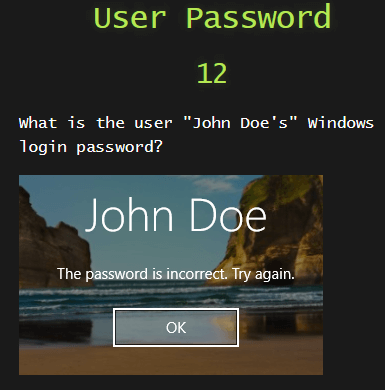
So for this one we needed to understand where Windows stores a user’s password hash. On linux it is simple, it stores it in the /etc/shadow file. In Windows you require two files.
One is the SAM file, this stores the Windows user hashes but these hashes are encrypted with the SYSTEM file.
So in order for us to crack the hashes, we need both of these file on the Windows system.
Let’s go grab them.
Click on the Operating System Information on the left
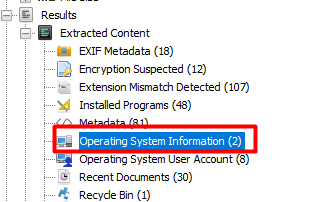
and then right click the SYSTEM file and extract it to your local machine.

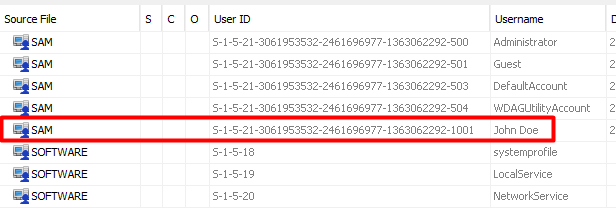
Click on the Operating System User Account on the left
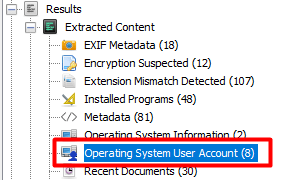
And then right click the SAM file for John Doe and extract it to your local machine.
I copied both SYSTEM and SAM file to my Kali machine.
I used a tool called pwdump which can be installed with the creddump7 package.
creddump7 is in the Kali repository already thus pwdump was already available on my Kali machine.

We only need the John Doe NT hash as explained in the previous challenge.
I used same method with the same rule for hashcat

Conclusion
Week 1 was done and I enjoyed it tons! I had never used Autopsy before so this was a great way to learn it!
If you do see any mistakes, spelling, grammer, formatting, please let me know. I tried to do the best I could with this writeup but I am sure I might have done some mistakes :)
Stay tuned for week 2 write up in the next few days